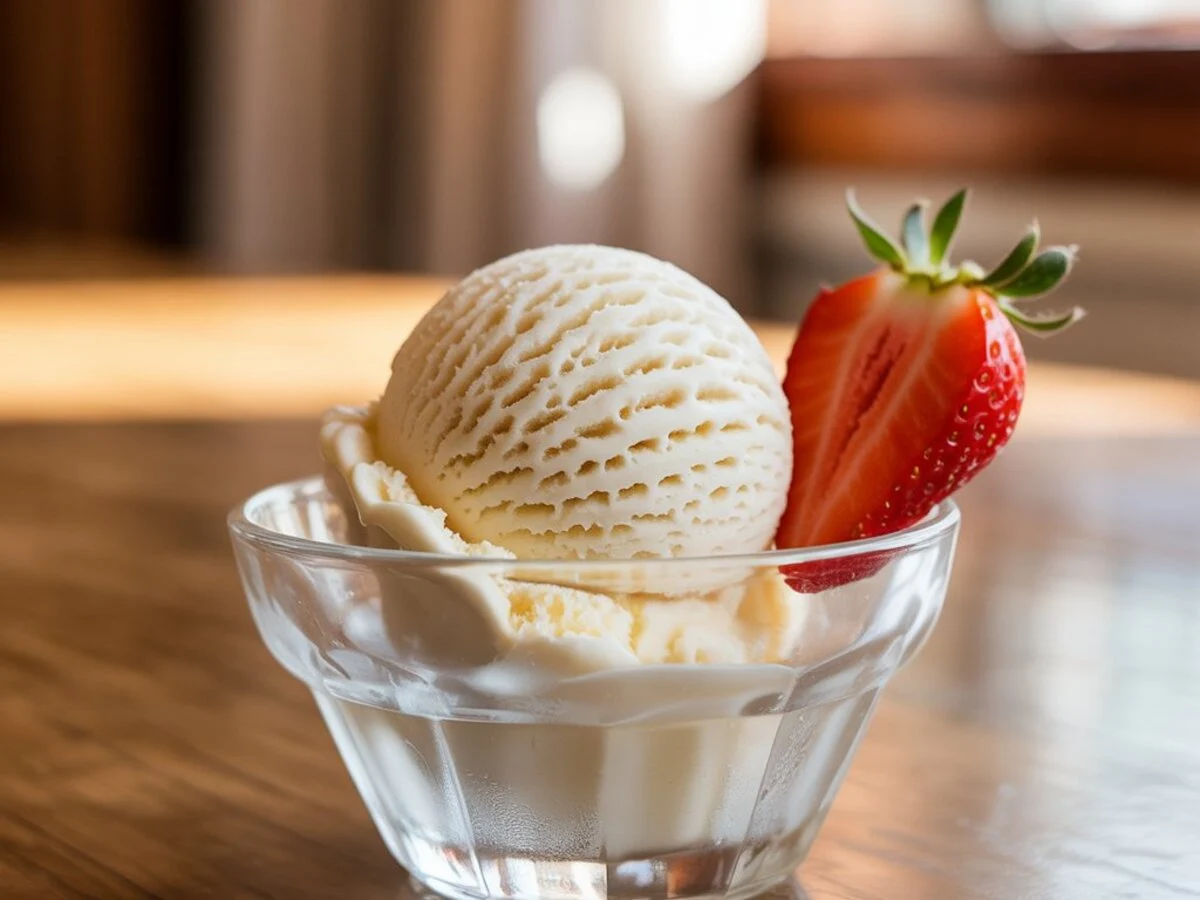
Experience the unbelievably creamy, ultra-smooth texture of this homemade vanilla ice cream—whether you churn it by hand or with a machine, it’s a simple joy worth savoring. One quiet morning, as sunlight warmed the kitchen, I gently stirred together cream, milk, and vanilla. The aroma wrapped around me, and that first silky spoonful was like a chilled hug—rich, comforting, and deeply satisfying.
Each stir brought the mixture closer to perfection—smooth, thick, and full of promise. I tasted as I went, each bite more delicious than the last. Creating this treat, especially with a kefir twist, felt calm and joyful. It’s a recipe rooted in real moments—made to be shared. Come along and make your own spoonful of comfort.

Equipment Checklist
Ice cream machine or freezer-safe container
Mixing bowls (heatproof and standard)
Electric hand beater
Wooden spoon and spatula
Measuring cups and jug

Vanilla Ice Cream
Ingredients
Equipment
Method
- In a medium heavy-based pan, combine the cream, milk, and half the sugar.
- Slit the vanilla pod and scrape tiny black seeds into the pan.
- Heat on low, stirring occasionally until bubbles appear around the edge.
- Turn off the heat and let infuse for 30 minutes.
- In a bowl, beat egg yolks and remaining sugar with an electric hand beater for about 2 minutes until thickened and pale ribbons form.
- Slowly pour the warm cream mixture into the yolks, whisking to temper.
- Return to the pan and cook on low, stirring with a wooden spoon, for 8–10 minutes until the mixture coats the back of the spoon. Don’t let it curdle.
- Pour into a heatproof bowl, then place into a bigger bowl filled with ice cubes and iced water for 20 minutes, stirring occasionally to prevent a skin.
- Cover and chill in the fridge for 3–4 hours or overnight for the best flavor.
- Ice Cream Machine: With the machine running, slowly pour in the chilled custard. Churn for 10–30 minutes until it reaches soft-serve consistency.
- By Hand: Whip chilled cream until floppy peaks, fold into cold custard, freeze, and stir once an hour for 3 hours.
- Transfer to a plastic container, cover with cling film and a lid.
- Freeze for a minimum of 3 hours or up to 3 months.
- Leave out for 15 minutes before serving for the perfect scoop.
Notes
- Want a lighter version? Skip the eggs and use cornstarch for a smooth Philadelphia-style base.
- No machine? No problem! Whip cream, fold, and freeze—no churn needed.
- Dairy-free option? Coconut milk and vegan creamers work great.
- Serving tip: Let it sit for 10–15 mins before scooping for that perfect texture.
- Pro Tip: Chill your ice cream base overnight for ultra-smooth results!
Storage Tips
- Use freezer-safe, airtight containers to avoid freezer burn.
- Press cling film against the surface.
- Best enjoyed within 3 months—but who’s waiting that long?
No-Machine Method (Alternative Instructions
- Whip heavy cream until soft peaks form.
- Combine with vanilla-infused custard and fold gently.
- Transfer to a container, freeze, and stir every hour for 3–4 hours.
FAQs
Can I make it dairy-free?
Yes, use coconut milk or almond-based cream alternatives.
Can I skip the eggs?
Absolutely! Use cornstarch for a thicker, eggless custard base.
Why is my ice cream icy?
Ensure your base is deeply chilled and churn at the right temperature.
Can I use vanilla essence?
You can, but vanilla extract, pods, or paste offer stronger flavor and real flecks.

Hi, I’m Lena Brooks, a proud Southern soul who grew up in my grandmother’s kitchen. For over eight years, I’ve been perfecting crispy fried chicken, zesty seafood boils, and juicy homemade burgers. I love giving classic recipes a healthy twist think keto-friendly, vegan, or kefir-infused and every dish is tested in my own kitchen to make sure it’s foolproof and delicious. Whether you’re just starting out or you’ve been cooking for years, join me for simple, heartwarming recipes that bring people together.
